Thursday, June 30, 2016
Another possibility opened up by being able to do tray development is shooting on Film Washi’s 4×5 fllm W, which uses Japanese rice paper as its base rather than something more traditional like cellulose.
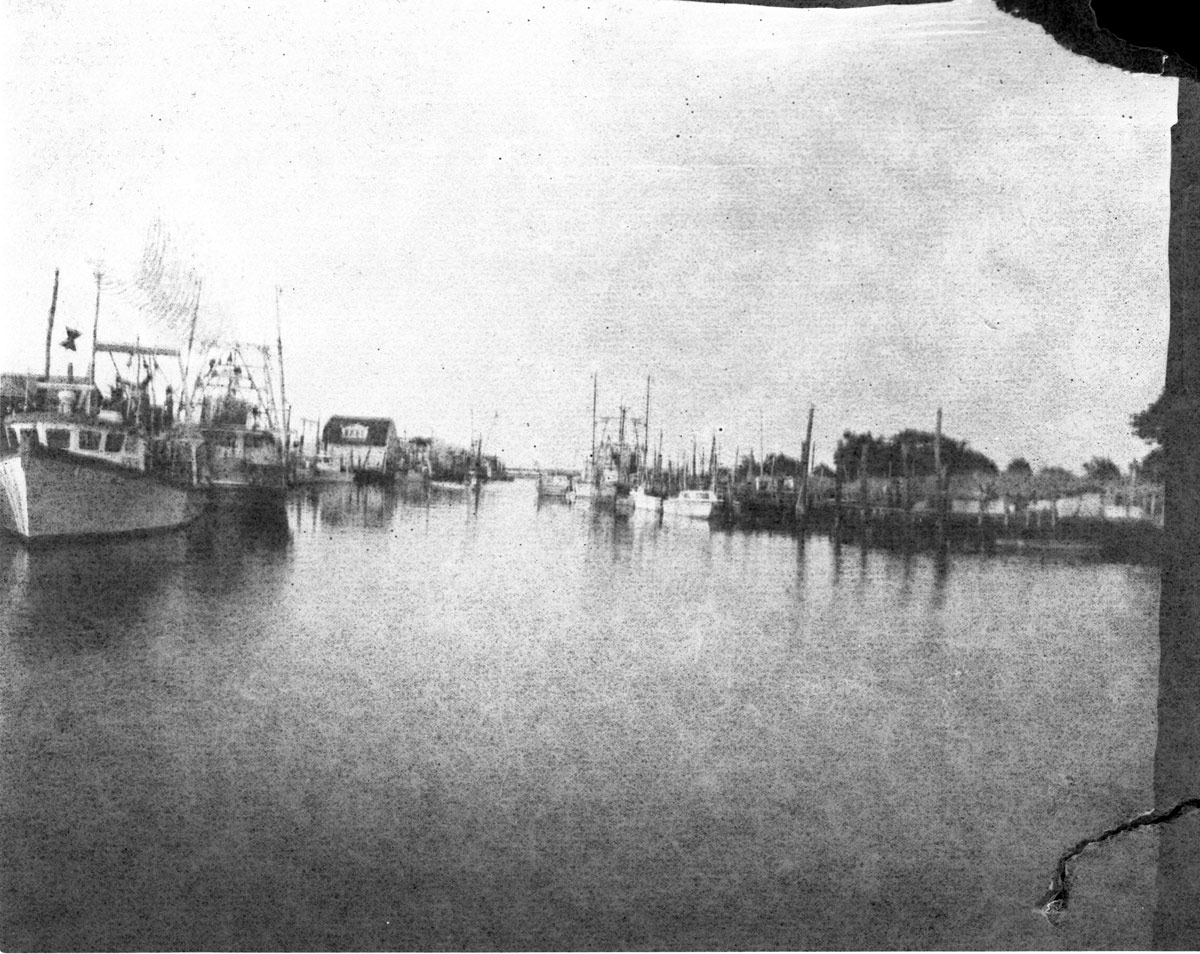
I shot at Belford Harbor again, since it’s a mile and a half from home and I didn’t have much time to shoot this week. The film is not easy to handle; it’s very thin, and gets slippery in the tray. And it’s fragile when drying, as you can see by the rip in the lower right corner. But it really lends an interesting texture to the photograph. This looks like it could have been shot 120 years ago. I think I can make some use of this.
Posted at 11:18 AM
Link to this entry
Thursday, June 23, 2016
Now that I’m set up to do tray development of paper, it opens up a few more possibilities. This week, I shot my project shots with the Intrepid on Harman Direct Positive paper. No negative, just a print. Amazing stuff.
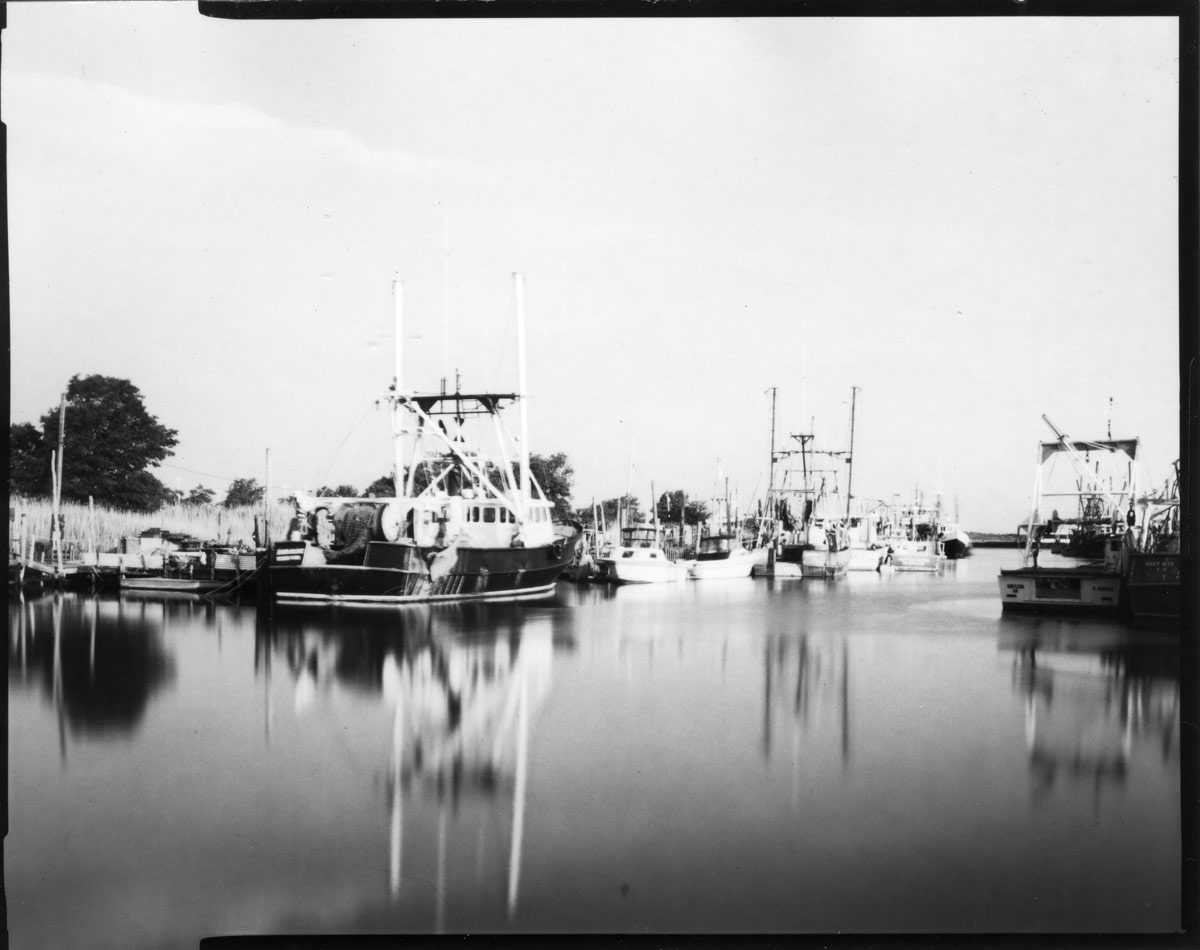
This is Belford harbor, where one of the ferries to the city docks. It’s also the home of a number of working fishing boats. The creek behind our house empties into this body of water, Compton’s Creek.
I rated the Harman Positive Paper at ISO 3. This stuff is usually used with pinhole cameras, but I couldn’t find the pinhole that came with the Intrepid, so I used my regular lens, a Schneider-Kreuznach Symmar-S 150mm, stopped down to f/45. At ISO 3, the meter said 5 seconds. Because of the way the bulb setting on my shutter works, I forgot that the way you close the shutter is by turning the shutter speed wheel, so this was actually more like 8 seconds. And that was cool; the other shot I took that day was actually exposed for 5 seconds, and it looks a little underexposed. This one looks a little overexposed. But they both actually look pretty good.
I developed this in the Adox Neutol Eco that came with my Enfojer. It was developed by inspection, so I’m not sure exactly how long, but I think it was in the developer for about a minute and a half.
Speaking of the Enfojer, I’ve heard from Fojo that there actually is a negative holder made from aluminum that I didn’t receive, and that something may have happened to my base in transit, so they’re going to be sending me a new base and the negative holder. So for now, experiments with printing on the Enfojer from negatives are on hold. I did purchase some light diffusing paper from Inventables.com; it will be interesting to see if that lessens or eliminates the pixelness of the prints from negatives that I was noticing.
Posted at 8:09 AM
Link to this entry
Thursday, June 16, 2016
So I managed to shoot a roll of film, develop it, and print a photo from it with my Enfojer on silver-halide paper in the space of the past week, fitting it all into the constraints of this project, just like I said I would try to do last week.
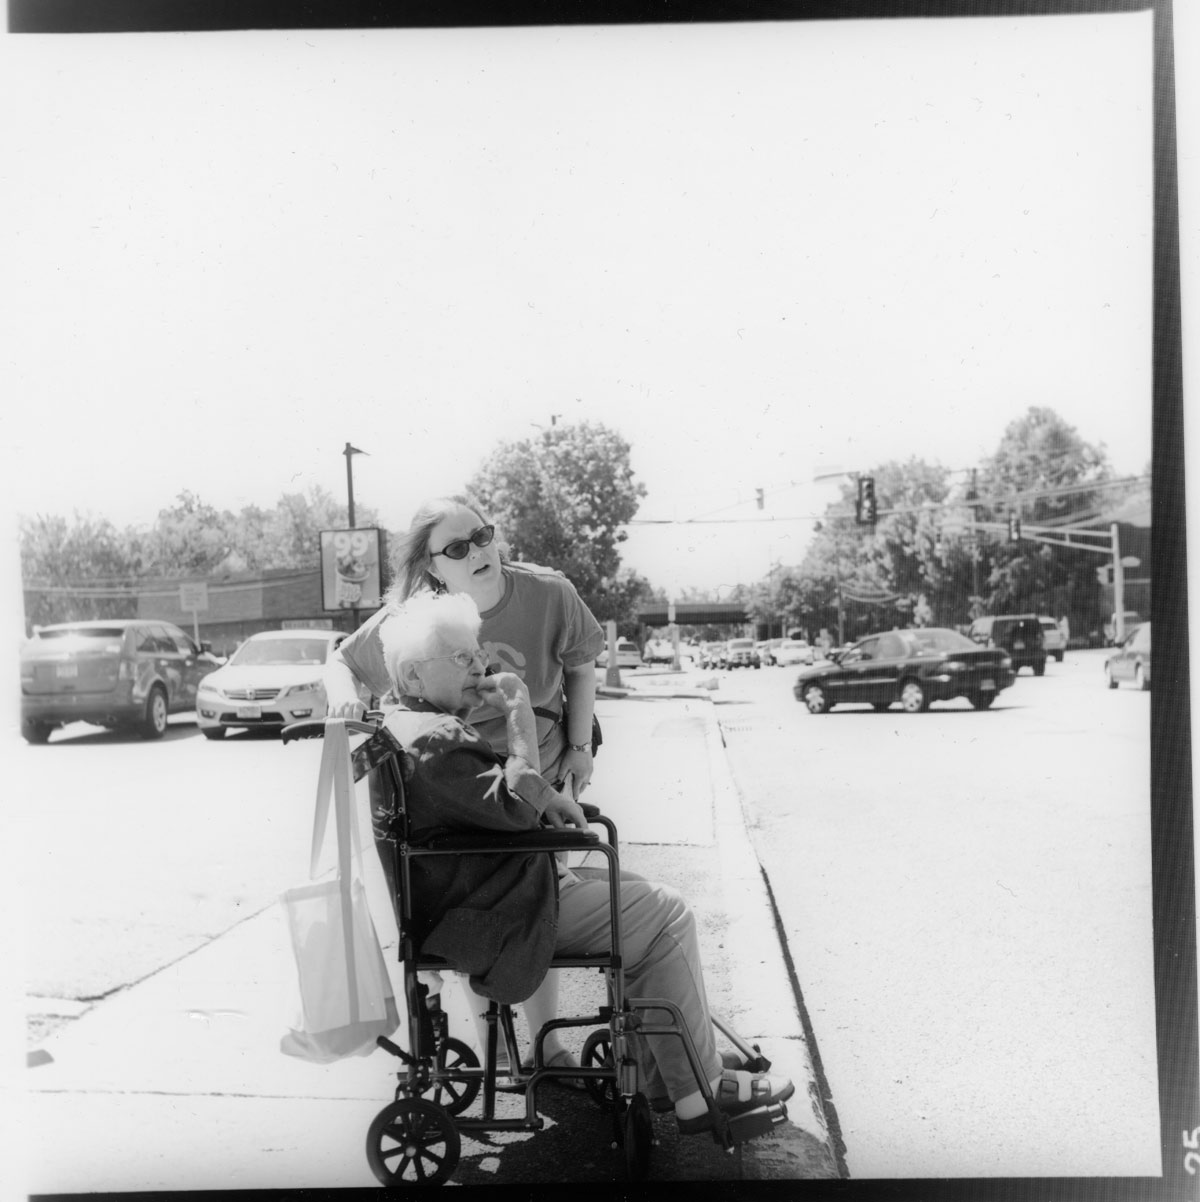
I shot this with the Rolleiflex on Rollei RPX25 film, which is a clean, high contrast film. I think that’s reflected in the shot. There’s not a whole lot of gray in the sky. Developed in it Rodinal 1:50 for 11 minutes.
The Enfojer as it’s delivered can be a little difficult to use. The top and bottom of the frame that holds the photo paper that you print onto is supposed to be held together by magnets, and in my experience, that doesn’t work very well. More often than not, I found that the frame separated, that the hinge part of the top of the frame didn’t stick to the bottom, which made printing a lot more difficult as I scrambled to place the paper properly without triggering the beginning of the exposure from the phone, which turns on at the signal of a loud sound (the recommend snapping fingers, but my finger snaps aren’t loud enough, so I clap). I’m still trying to get an answer from the team in Croatia about negative holders (it looks to me like the negative holder is a couple of holes in the side of the print head, which does nothing to keep the negatives flat and makes printing from the edges of a negative strip next to impossible; I’m hoping that my package was just missing something that does a little more to support negatives). I solved the frame issue with a little bit of Elmer’s Carpenters Glue and a couple of clamps. The frame stays together now, and printing is much easier. The negative strip issue might be a little more difficult, but it should be possible to design and 3D print a negative holder that would slide into the print head if Fojo doesn’t provide one.
Oh, and I found a bug in the iOS app where if you select the button to print from a negative, the phone immediately starts exposing the shot and never stops. My workaround for that was to create an entirely black photo on my iPhone, then use that as a source to print from. When the phone prints it, it reverses the entirely black photo to entirely white, producing the light needed to expose the photo.
This shot is of my wife Laura and her mother at the parade last weekend celebrating 100 years of their home town, Elmwood Park, New Jersey. The parade hadn’t started yet at this point.
When I look really close at the print, I can see the pixels from the light source, my iPhone 6. I don’t think there’s any way to avoid this at full size with phone-generated photos. I haven’t tested printing at smaller sizes yet to see at what point this ceases to happen. For printing from negatives, I might look for some light diffusing material to place between the phone and the negative to try and solve this issue.
All in all, I like the Enfojer and am having fun using it. Having to hack it to get it to work the way I want it to is part of the fun.
Posted at 8:42 AM
Link to this entry
Thursday, June 9, 2016
Another shot from the Impossible Project’s new I-1 camera. That’s partly because it’s the new kid on the block, and partly because I haven’t refilled my film holders for the large format cameras.
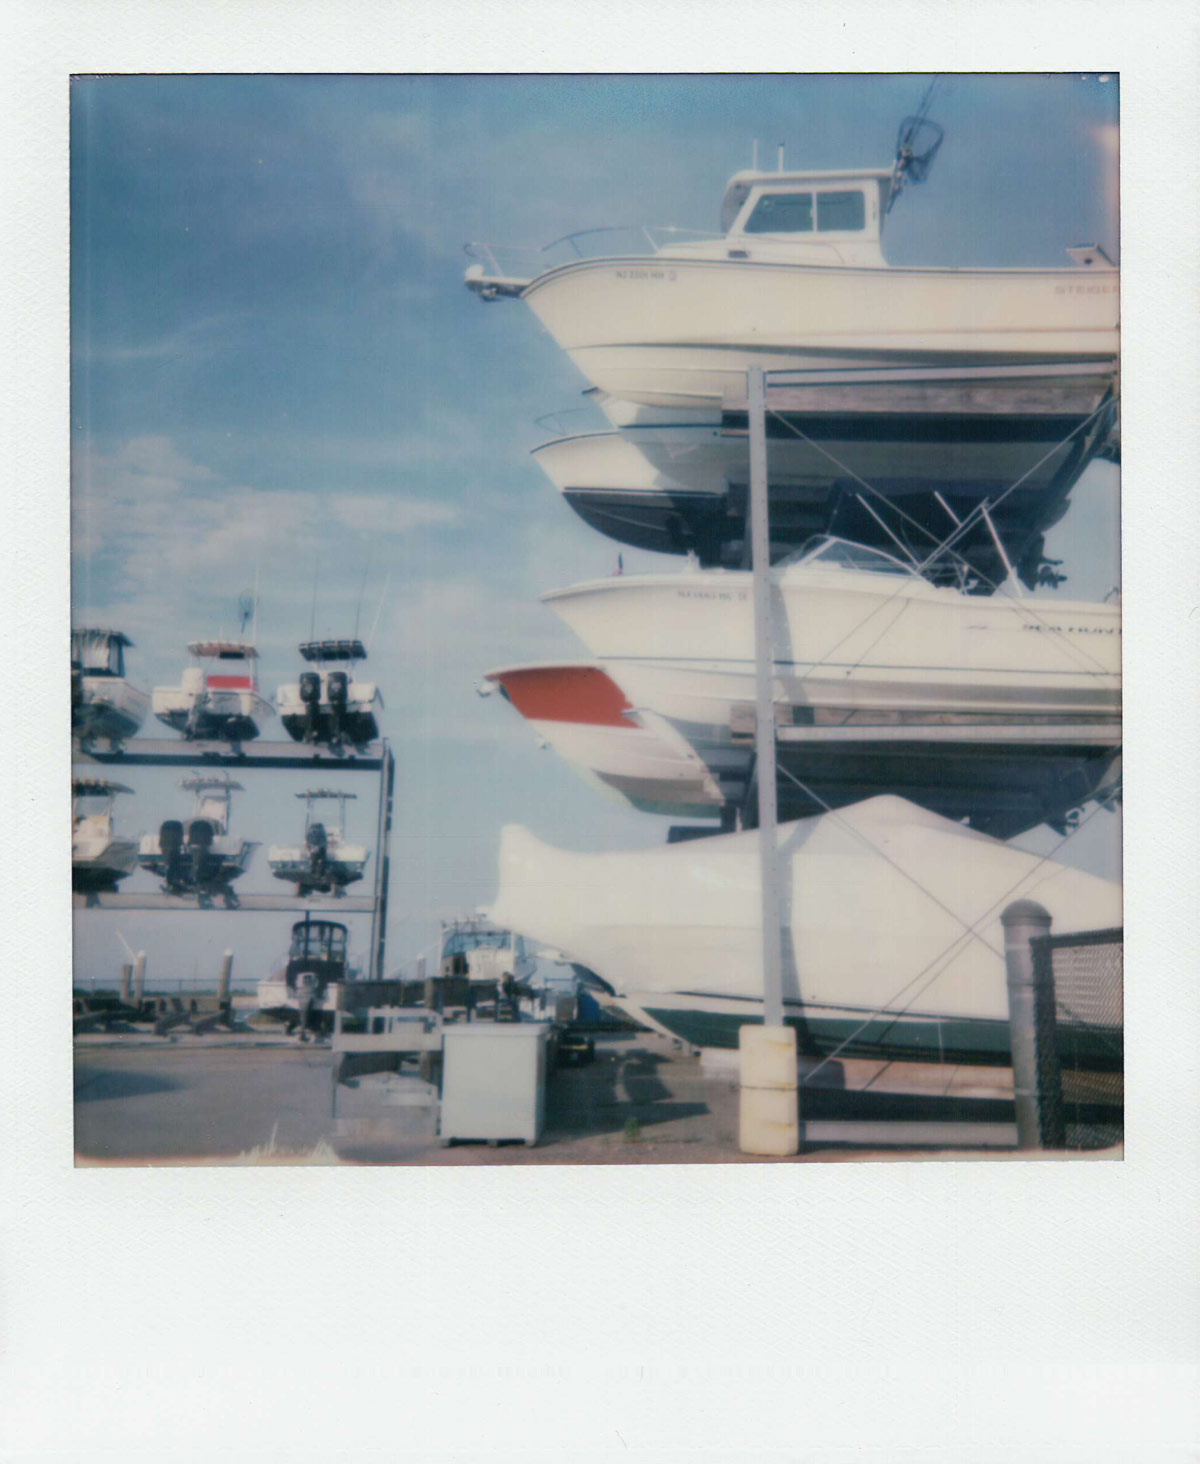
I started out with the light setting turned down just like the previous pack, but my shots were coming out dull and dark. So I put it back to the center. This is the shot where exposure and composition came together.
Almost three years ago, I backed an enlarger that uses your mobile phone as a source for making black and white prints on one of the crowdfunding platforms. It can also enlarge film negatives. After a much longer than expected wait, it appears that my Fojo has been shipped, has made it through customs, and will be here tomorrow. So maybe I can shoot something with one of my 35mm or medium format cameras in the next few weeks and print it, then post it here as part of the project. I’m very much looking forward to receiving this. I’ve never actually printed one of my photographs myself before, not using traditional methods anyway. This should be fun.
Posted at 8:19 AM
Link to this entry
Thursday, June 2, 2016
This week, again, was all about the Impossible Project’s new I-1 camera.
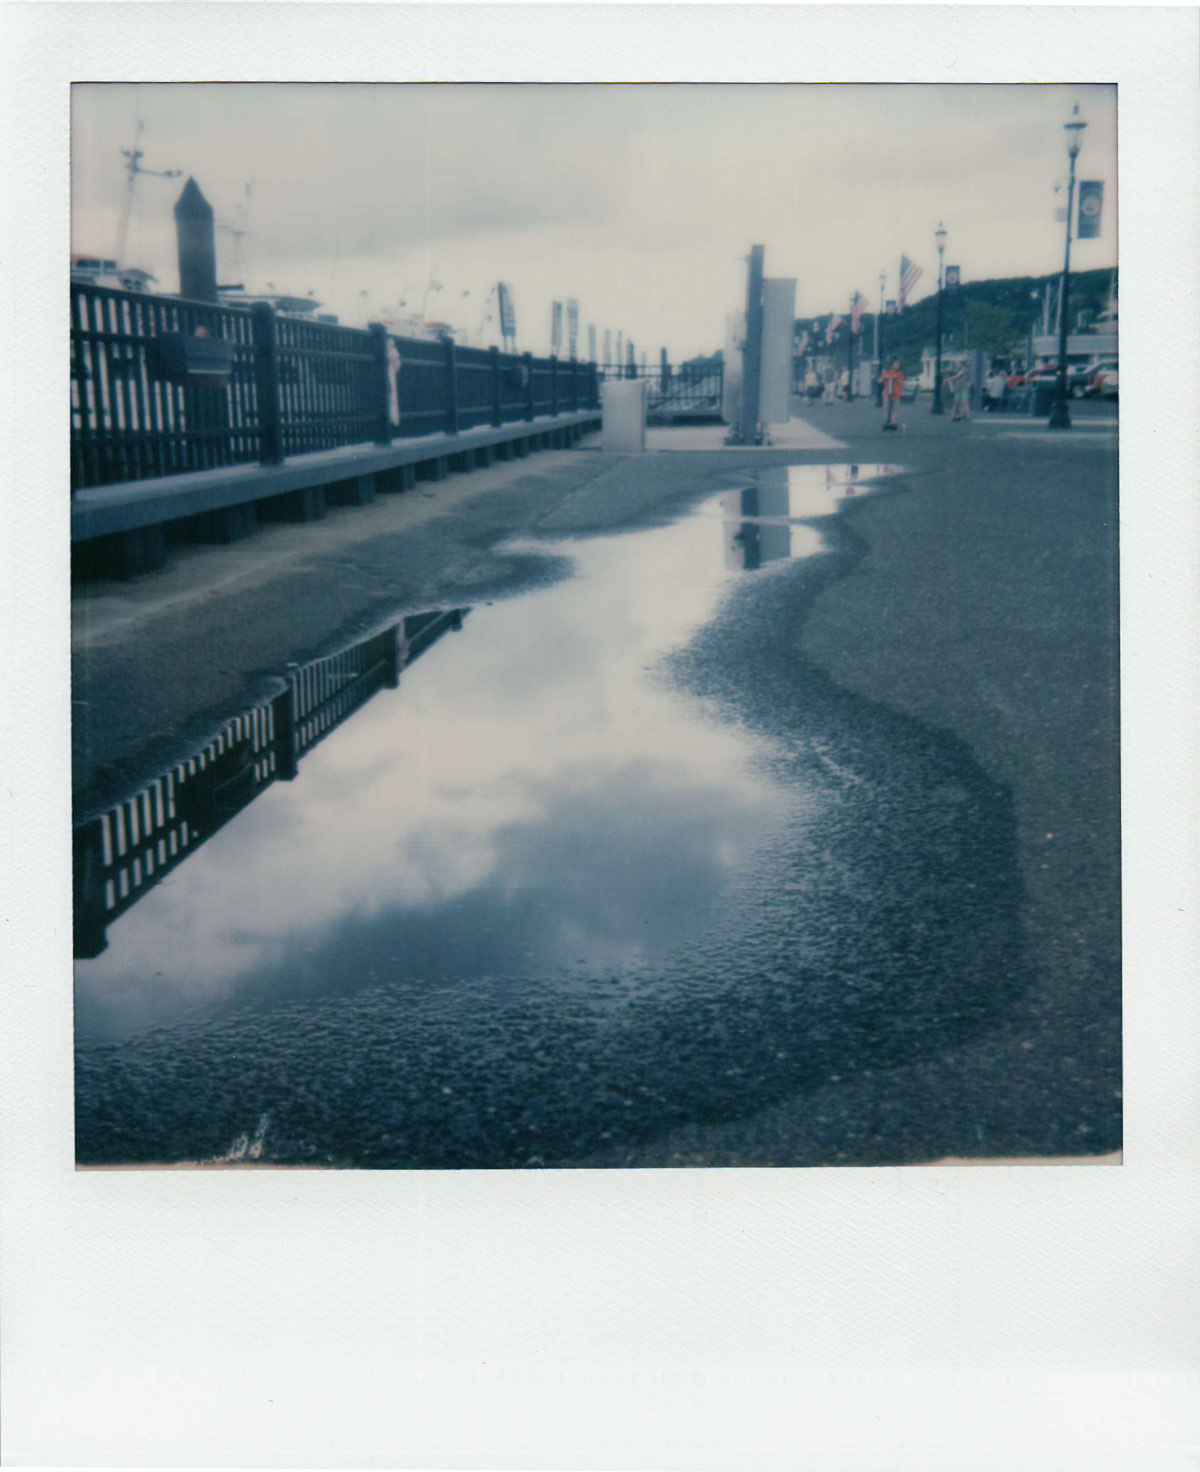
I shot color film this time, the new generation I-1 color film. This version has no battery, so it’s a bit cheaper than the film packs made for old Polaroid cameras, which get their power from a battery inside the pack. The I-1 has a built-in battery, which means you need to recharge the camera, but its better for the environment.

My first shots on color all came out muted, kind of faded. Overexposed, actually. It’s not a bad look, but not what I was looking for. I was shooting in Cape May, NJ, and Levittown, PA, on sunny days and got the same kind of results. For the last couple of shots on the pack, I dialed down the exposure about 1/3 of a stop toward darken. This is more representative of what I actually saw. It was a cloudy day, so the colors are muted in a different way, but it’s good.
I’m going to try to shoot some color this week on a sunny day with the exposure adjusted like the first shot and see what I get.
Posted at 7:32 AM
Link to this entry
Back to There Is No Cat
This site is copyright © 2002-2025, Ralph Brand


